101 (and Counting!) Fine Motor and Close-up Activities WITHOUT the use of Technology
We need to do a lot of fine motor and close-up activities with Sweet Pea and we need to do them every. single. day. It can be tough to come up with new activities and new ways to keep her engaged, so I decided to make a list. Yes, these activities use “choking hazards” and might make a mess, which is why she is always directly supervised while these materials are out. She has been taught to contain her activity to a specific area and to help clean up. Most of what I’ve listed below are structured activities, but we also let her “just play” and do her own thing using these materials. This list is for the days when she’s not as interested in doing her own thing, or for when I need to extend the activity so she’s engaged in it longer.
Beads:
- sort by color (including different shades of the same color), size, shape, texture or a combination of those attributes
- find a hidden shape/item or a specific color
- pour or move from one container to another
- string together on pipe cleaners or string
- scoop with measuring cups, spoons, etc.
- move or pick up using tweezers, tongs, chop sticks
- counting
- how many altogether and of each color, size, shape, etc.
- one more “Please hand me one more blue bead.” “Three is one more than two.”
- one less (same as above, but using one less and subtracting
- find the same bead (color, shape, texture, etc.)
- “Can you find me another ___ bead?”
- “I’m trying to find a ___ bead. Do you see any?”
- “Green, not green” or “Round, not round”
- make patterns
- Start simple at first with only two colors alternating and get more advanced as your child gets better.
- Have your child help you complete your pattern by giving you the next bead or make his/her own by copying you.
Colored Straws
- Cut different lengths. Sort by length. Ask which one is longer or shorter.
- Sort by color
- Line them up on a row or side by side.
- String them on yarn.
- Stand them up in bottle drying grass.
- Randomly, by color, height, in rows, make different shapes or letters…
- Make patterns (length, color)
Stickers
- Stick on paper in pre-categorized boxes
- Stick according to size, shape, color, category (animals, flowers, letters, etc.)
- Place them in a straight line, or the first letter of your child’s name.
- Fill in a shape with them
- Create a simple “mosaic” picture by “coloring” with them. Example: flower- pink stickers for the petals, green stickers for the stem and leaf, and yellow stickers in the middle.
- Use a calendar and practice vocabulary (days of the week, months of the year, numbers, row/column, holidays, etc.) by telling your child where to place a sticker. Example: “Let’s place a sticker on the first day of each month. Look, in January, the first day of month was on a ____. In February, the month started on a ___.”
- Place the stickers in a pattern.
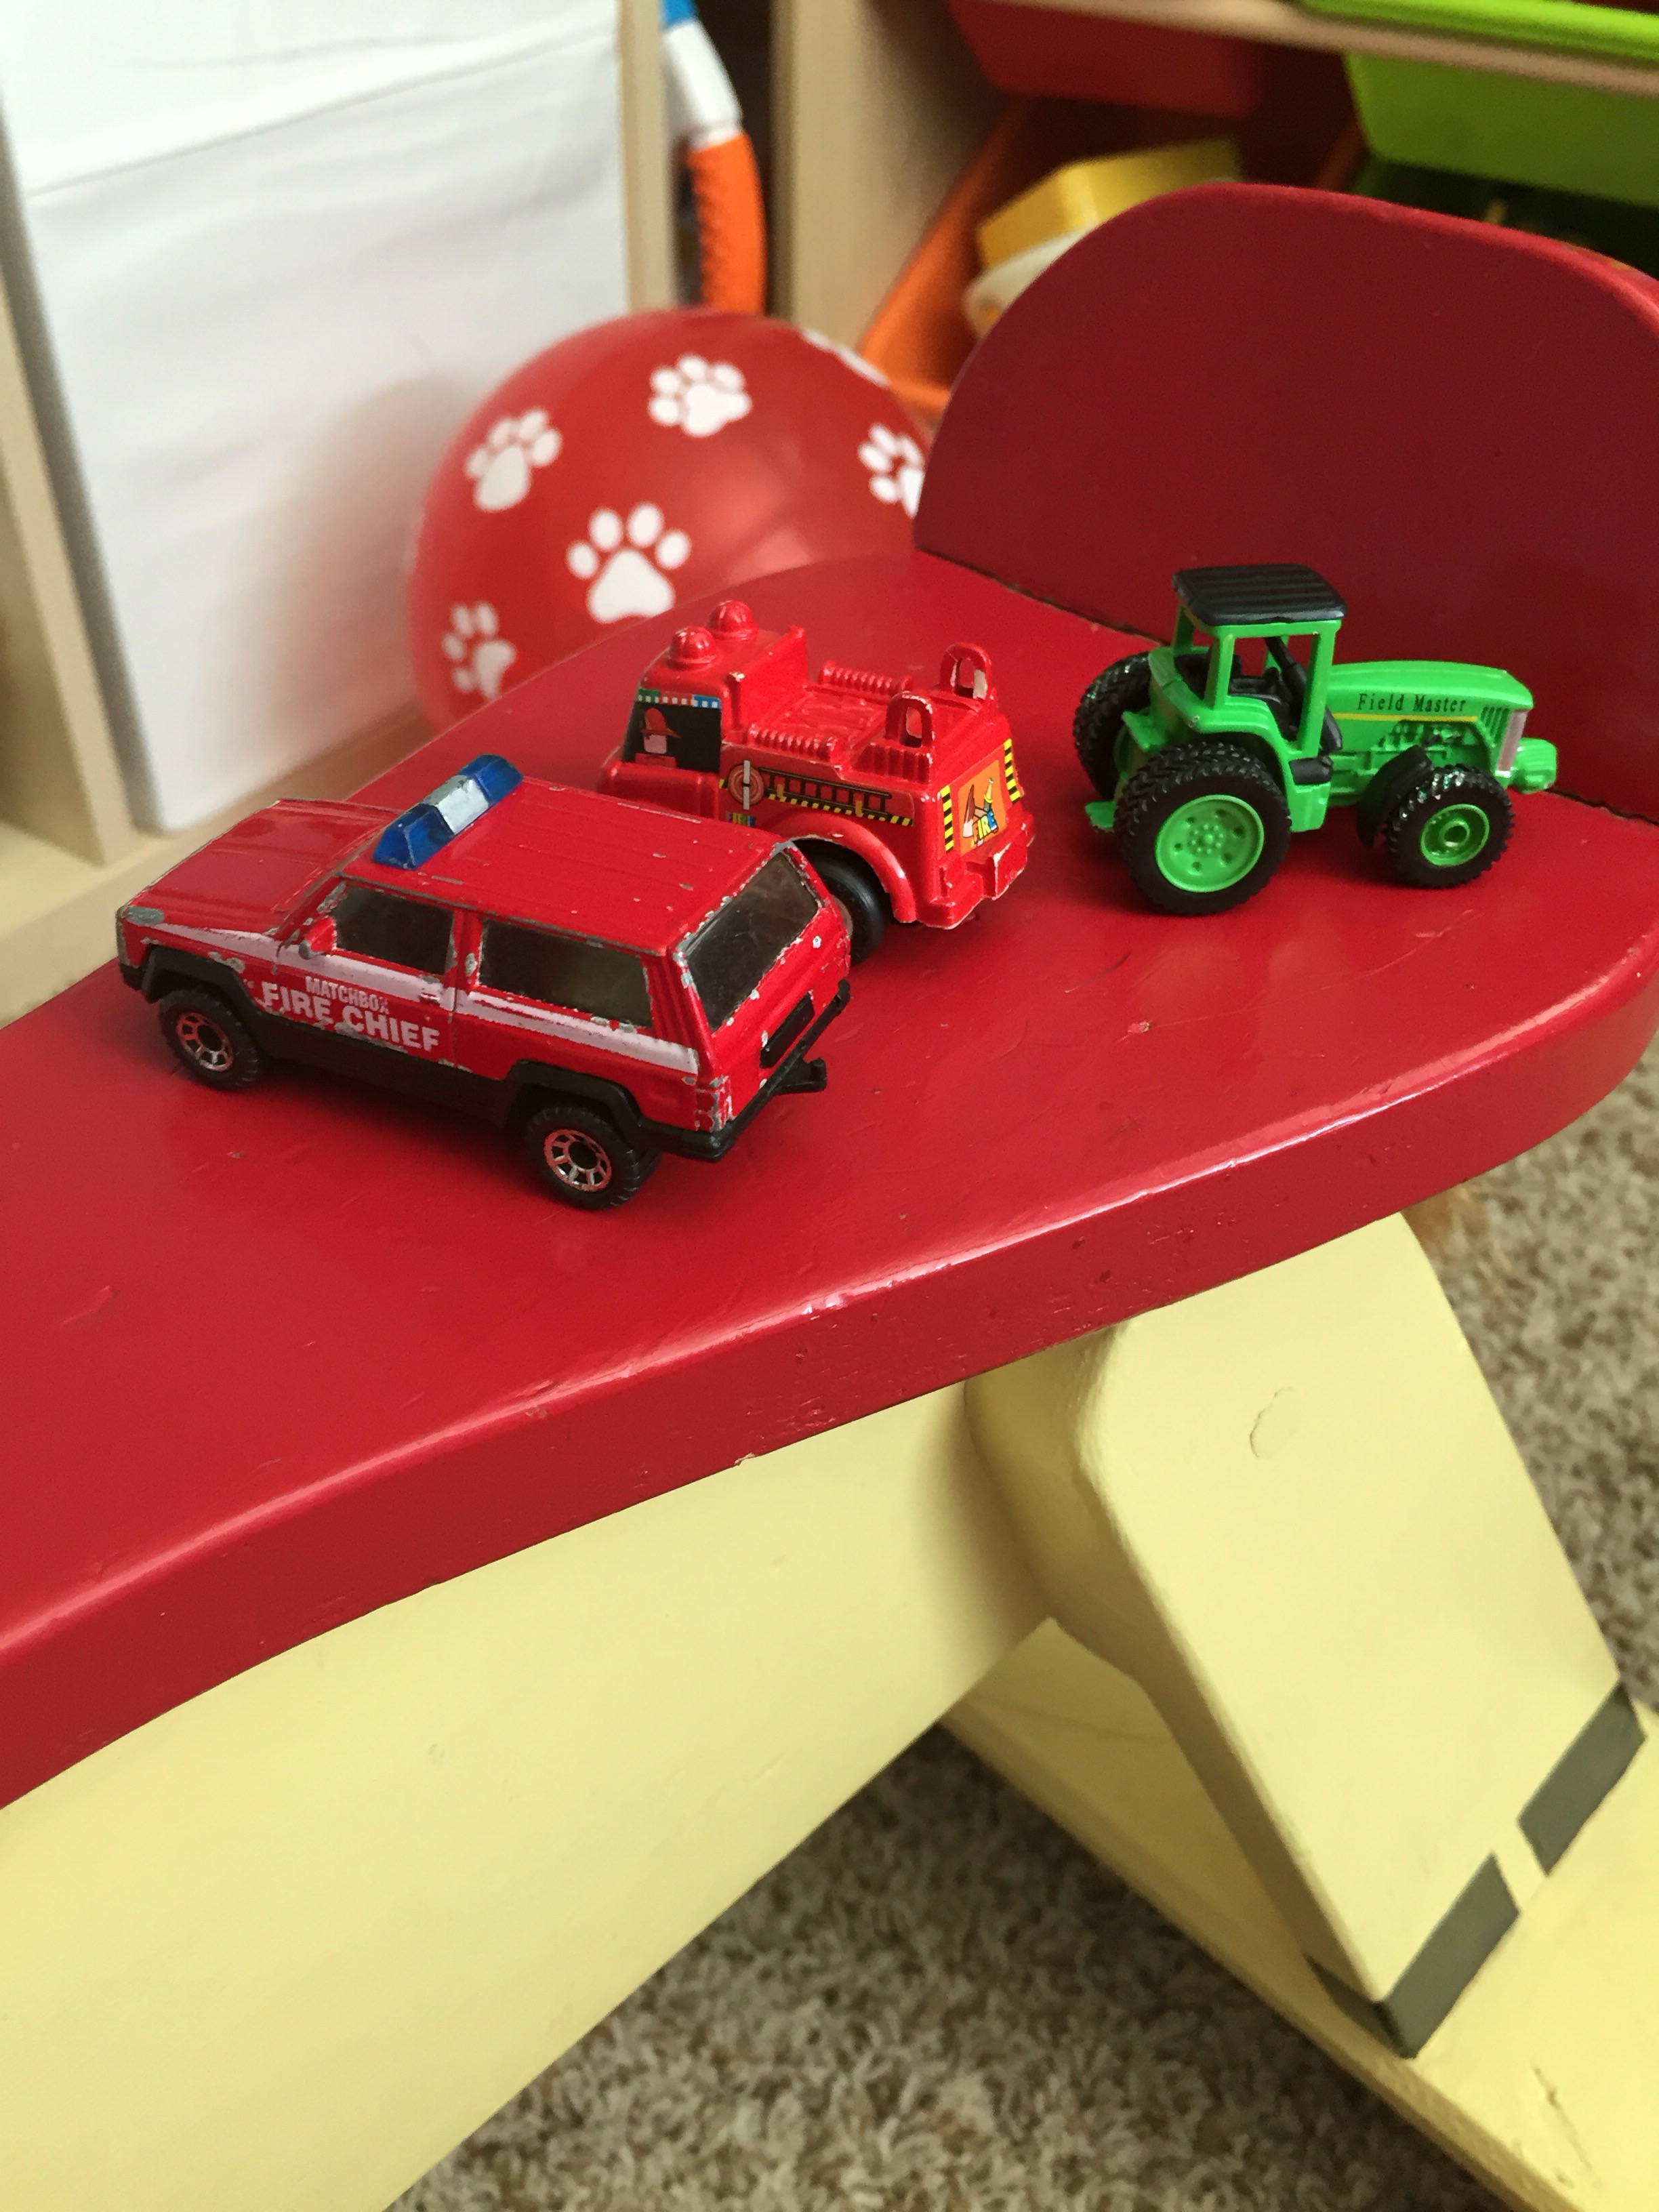
Cars (Matchbox or similar)
- Line them up in a row. Use various surfaces. Which ones work better?
- Drive them around. Which surfaces are easier to push cars on (grass? Couch? Bedding? A slanted surface? Up the slide?)?
- Line them up by color or type of vehicle.
- Put them in patterns.
- Talk about where the cars are going and why.
- Review parts of the body and ask your child to drive his/her vehicle along your arm, over your leg, down your back, etc.
- Practice location words such as: over/under, above/below, next to/in front of/behind, etc. Ask your child to drive his/her car under the chair, then on the stool, over the shoe, etc. This is a great way to practice following simple directions through play.
Tissue paper
- Tear it and glue it on paper.
**Note: don’t tear it for your child. It’s a good activity to build hand strength and awareness.
- Tear, sort by color or size of pieces.
- Stuff torn tissue paper in a narrow opening, such as the opening in an old baby wipes container.
Contact paper
- Tape it to a flat surface, sticky side up and let your child stick paper, tissue paper, leaves, etc. to it.
- You can tape it to glass and see what sticks and what falls, and what you can see through and what you can’t. Ask your child before he/she sticks something on the contact paper if it’ll stick or not and let them find out.
Magnets
- Line them up in rows or columns. Take turns adding the next magnet.
- Sort by color, shape, type of magnet, etc.
- Experiment and see which surfaces are magnetic and which aren’t
- Put them into categories or only put specific colors or types of magnets on the magnetic surface.
- Practice “same” (or similar) and “different.”
- Find opposites.
- Count the magnets as you place them on the magnetic surface. Count the magnets as you remove them.
- Spell words for your child and talk about the letters and their sounds. Have your child tell you words to spell.
Blocks (wooden blocks or other cubed blocks)
Similar to above for beads, but you can also stack them. While stacking, you can practice taking turns or each build your own block stack. Make it a game and see who can build a taller stack the quickest. While you play, you can talk about what’s on the blocks (colors, letters, animals, etc.). Make it more advanced and detail orientated as your little one becomes more advanced. For example, only stack green blocks, or only place the blocks with the numbers facing out.
Lining blocks in a row is another good activity. When this becomes too easy, build walls or bridges with the blocks. Count the blocks as they’re added. Have fun knocking them down and starting the building process over.
Pompoms
You can do similar activities with pompoms as you can beads. They’re also fun to drop down a toilet paper tube or put into a water bottle or a wipes container and take back out. You could also have your child practice tossing them in various containers, such as bowls. Experiment with different distances and heights of the containers to see which is the easiest and which is the most challenging. Since they’re larger than beads and squishy, children might have better luck picking up pompoms with tweezers, tongs, or chopsticks.
Yarn/Ribbon/String/Shoelaces
- Wind it on an empty toilet paper roll (tape the end so it stays). Let your child wind and unwind it.
- Push it through a colander.
- Punch holes in a paper towel or toilet paper roll (or thick paper, or a piece of cardboard) and teach your child how to lace string/ribbon.
Water
- Use water droppers (or old children’s medicine syringes) to move water back and forth from one container to another. Have your child sit on a towel, place a towel on the ground near them, do this activity outside, in a high chair, or in the bath tub to control the mess. Use small bowls so that if water spills, it’s not a HUGE mess.
- Use water droppers to melt an ice cube (bonus: freeze something in it!).
- Dye two bowls of water different colors. Have your child mix the colors in a third bowl.
- Use spoons or measuring cups to move water from one container to another instead of water droppers or medicine syringes. If you want to go big, get a big plastic storage bin of water and let your child use cups and bowls to move water around. This could also be done in the bathtub or using a water table outside, but sometimes the fun of the activity is that it’s in the kitchen or not during “bath time.”
 Squigz
Building Blocks
We have a wide variety of building “blocks” out and available at all times. She has Mega Bloks, wooden blocks, foam blocks, magnetic triangles, bristle blocks, Squigz, Tinker Toys, Legos… you get the point. We do a lot of the activities listed under “Blocks” above with these blocks as well. However, they’re also just fun to play with and see what you can create. Since they come in a variety of colors, they’re also great for sorting by color, size, and shape, as suggested in the beads activities.


Miscellaneous Items and Activities
- String popcorn using a plastic needle
- Practice cutting paper using safety scissors
- Dress and undress a doll or small stuffed animal. Preemie clothes work well if doll clothes aren’t available.
- String Cheerios and make a necklace. Eat the necklace for a fun snack.
- Draw or color using markers, crayons, or chalk. Use an easel. Use a flat surface. Decorate a box (especially one that’s big enough to sit in!). Go outside and draw with chalk. Use dry erase markers on the mirror or a window. In addition to unstructured art time, have your child practice drawing what you draw (example: draw a circle, asks your child to draw a circle).
- Use buttons in place of beads in the activities listed above.
- Old math manipulatives are also fun to play with (counting bears, colored squares, tangrams, etc.) and talk about their features, match, and sort them.
- Puzzles
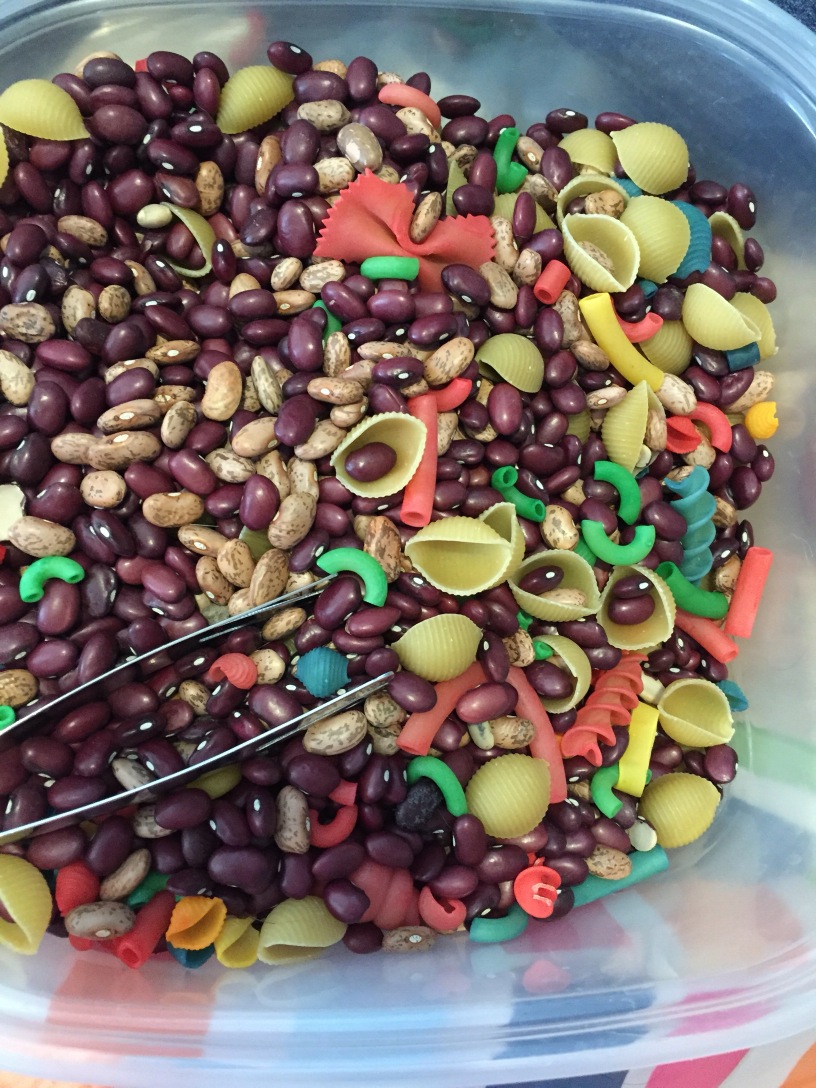
- Put beans, rice, pea gravel, bird seed, etc. in a container and let your child scoop and pour it (see “Beans, Beans the Magical Toy”) for more ideas.
- Plant seeds
- Pull weeds
- Trim/prune plants with scissors
- Find interesting rocks outside
- Move rocks from one spot to another. It helps that we have the same rocks throughout our backyard, so she won’t mix them up. This could also be done at a park or playground.
- Look for bugs on a plant, in the dirt, under rocks, on a tree, in the bushes, etc.
- Fold laundry (towels are easy to start with). This can lead to folding clothes!
- Cook or bake. Let your child fill the measuring cups and do the pouring.
- Read or look at pictures and make up your own stories
- Paint (see “Painting 101”)
- Sort colored stones/rocks, marbles (flat or round), glass beads (on the floor or a soft surface). Almost any item you have several of around the house that can be categorized/sorted would work for this.
- Use an Aqua doodle, Magnadoodle, etc. or Water Wow by Melissa and Doug for mess free drawing and coloring.
- Sand: draw in it with fingers or a chopstick or similar item. Scoop and pour it.
- Make a sand picture. Print or draw a simple picture. Put it in a paper box lid (or similar container). Put glue on it (sections at a time is probably best when you’re just starting out), sprinkle colored sand or glitter on the glue to “paint” a picture. Let it dry.
- Decorate a sugar cookie using icing (the kind you squeeze) and sprinkles.
- Glue different items (scrap paper, feathers, sequence, etc.) on a line or on paper.
- Use a Popsicle stick, straw, chopstick, etc. to draw in different mediums such as rice, beans, birdseed, etc.
- Make a wind chime (use string, cup, shells, beads, bolts, etc.) to create your own wind chime.
- Use lost socks to make a sock puppet out of an old sock, buttons, a plastic needle to sew on the buttons, puff paint or a permanent marker
- Marble painting. Put paint and marbles in a box or other container and roll them around on a piece of paper. It helps to tape the paper to the box.
- Get a Chinese Checker set and have your little one match the marbles in the corresponding home section.
- Play a matching game (store bought or make your own). You can also trace blocks and have your child match the correct sized block or color block to the ones you traced (in advance) on paper. This could be an easy way to work on patterns.
- Push tooth picks through a salt and pepper shaker or Parmesan Cheese lid, or pipe cleaners through a colander.
- Play-dough (cut, roll out, etc.)- great for strengthening hands too!
 I hope you enjoyed reading through my list of activities! It took me a lot of time and brainstorming to come up with this list, so if you use it, please give credit back to me. Thank you!
What fine motor activities does your little one enjoy?
Added Bonus: I’m SUPER excited about this sorting “activity”!

She came over to help, so I gave her silverware, reminded her not to touch the sharp knives that were already in the silverware tray, and let her help. It actually doesn’t take us much more time for her to help than if I did the silverware myself.
